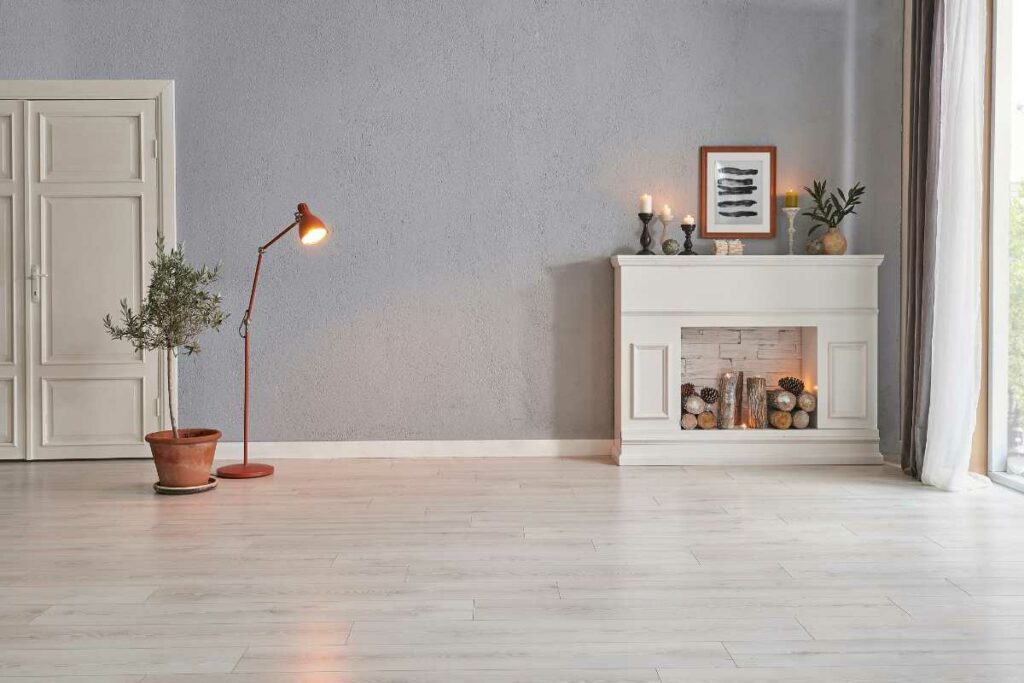
Of course, regular stone fireplaces have a certain pre-existing look to them that make people think of cozy cabins (see also ‘Cabin Fireplace Ideas‘) far away from civilization, but not everyone wants that.
We all have our own personal styles and what we like, but whitewashing allows the rustic fireplace to be more modernized and it also adds a hint of chic.
So, how do you do it? You’ll be pleased to know that it’s not actually that difficult, and you may have the things required already on hand. If you want to get a fully whitewashed look for your fireplace, keep on reading and we’ll outline how to do so.
How To Make A Whitewash Mixture
Of course to whitewash a fireplace, the first step is to actually make the mixture, but thankfully it’s quite simple. All you’ll need is a bucket, white paint and water, you won’t need much of the mixture but it’ll be much easier to mix in a bucket.
Simply mix white paint and water in equal portions, if you’re going for a more weathered look then you should use chalked paint.
Mix the paint and water together until you have a smooth, even consistency and once you’ve achieved that, you’re ready to start painting your stone fireplace.
Do You Always Have To Make Your Own Whitewash?
It’s a good idea to make your own whitewash, that way you can control the consistency of the paint and how you white you want your fireplace to look.
You can also control other factors such as the type of paint you get, e.g. getting a chalked paint for a more weathered look.
If you really don’t want to mix your own whitewash, you can of course buy a pre-mixed paint from your local hardware store, but it’ll be quite difficult to control the intensity and coverage of the whitewash.
Is Whitewashing A Good Idea?
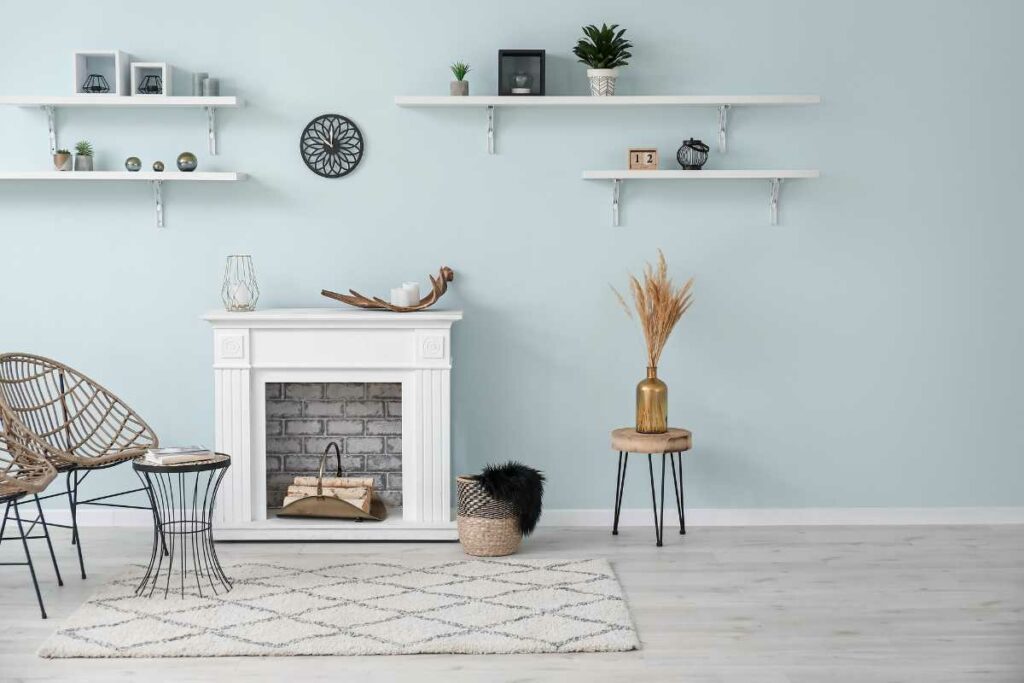
If it’s your style, yes of course it’s a good idea. It’s a great way to modernize and brighten up your fireplace and give it a new lease of life and turn an otherwise dull and boring fireplace into a chic and bright fireplace.
In regards to safety, as long as you’re not painting any places that come into close contact with the fire, there’s no safety risks associated with it. It’s a really popular way of giving your fireplace a modern look.
How To Whitewash Your Fireplace
Now that you’ve mixed your whitewash and you’ve got a bit of extra information regarding whitewashing your fireplace, it’s time to start actually painting your fireplace.
Like we mentioned earlier, it’s a relatively easy process, so as long as you follow these steps you’ll have a whitewashed fireplace in no time.
Step 1: Clean Your Fireplace The Day Before
This is essential to any painting process, you’ll want to ensure that your fireplace is free of any dust or debris that could potentially get in the way of your paint work.
Use soapy water and clean the areas that you’ll be explicitly painting, try to get into any crevices or cracks that aren’t immediately obvious.
If your fireplace is particularly dirty, try using TSP to clean it, it’ll make your life a whole lot easier. Once you’ve cleaned the fireplace, rinse it and then leave it to dry.
Step 2: Add Plastic Liner Around The Bottom Of Your Fireplace And Protect The Area With Painter’s Tape
Crucial to any painting job, you need to protect your floors and the glass portion of your fireplace from any paint drips. Painter’s tape is great for protecting smaller areas, or for taping any adjacent walls to protect them from being splashed.
But you’ll need a plastic sheet, or an old fitted sheet to protect the glass of the fireplace and the floor directly below.
Step 3: Get Your Whitewash, Dip Your Brush And Do A Patch Test
Test patches are important to ensure that your whitewash mixture is the consistency you want, it’ll also give you an idea of how it’ll look actually on the fireplace, so if you end up not liking it, you can stop before you end up painting the entire fireplace.
Just simply dip your brush into the mixture, dab away the excess and find a small semi-hidden place to do your test patch.
Step 4: Continue Whitewashing The Fireplace
If you liked the patch test results, then you can continue whitewashing the entire fireplace. It’s best if you do small, square sections each time and you’ll usually get the best results from doing quickly, but gentle brush strokes.
If your brickwork is extremely porous then you may have to be a bit forceful with your painting technique, don’t be afraid to ‘jam’ the mixture into the holes or dab the paintwork with a rag for a more weathered look.
Step 4: Add More Color To The Paint (Optional)
If you start painting and realize you want a bolder color, just simply add more paint. This works the other way around too, add more water for a thinner consistency. But a 1:1 ratio of water and paint tends to work quite well.
Step 5: Wipe Any Excess
If you’ve got any excess paint on the fireplace, use a staining pad to wipe off any of the excess, make sure to be fast as this project will dry quite quickly.
Step 6: Leave The Fireplace To Dry
Of course, the last step is to allow the fireplace to dry. Kick back with a nice cup of cocoa and admire all your hard work and how good your newly whitewashed fireplace looks.
It’s here that you’ll be able to find any spots that you’ve missed and you can go back over and paint them, so make sure to scrutinize your hard work too!
That’s it, you’ve whitewashed your fireplace!
FAQ
What kind of paint do you use to whitewash stone fireplace?
We recommend creating your own whitewash and it couldn’t be easier. Just mix white paint and water in a bucket and stir to combine.
An equal mix of paint and water works well. Don’t mix all the paint, keep some back and test out a small section. You can always add more paint if the mix isn’t to your likening.
Hi, I am Stevie Morris. As a qualified electrician, I have installed countless electric fires and worked on projects with all types of fireplaces, including wood burning, bioethanol, and gas installations.
By working hands-on with different brands, you quickly become an expert on the best fireplaces and those you should avoid.
My family also owns the largest online retailer of fire pits and outdoor fireplaces in the UK. Although not part of the family business, I regularly help when needed.
I hope you can benefit from my experience and impartiality, which I have gained from installing fireplaces and seeing the family's fire pit business grow.