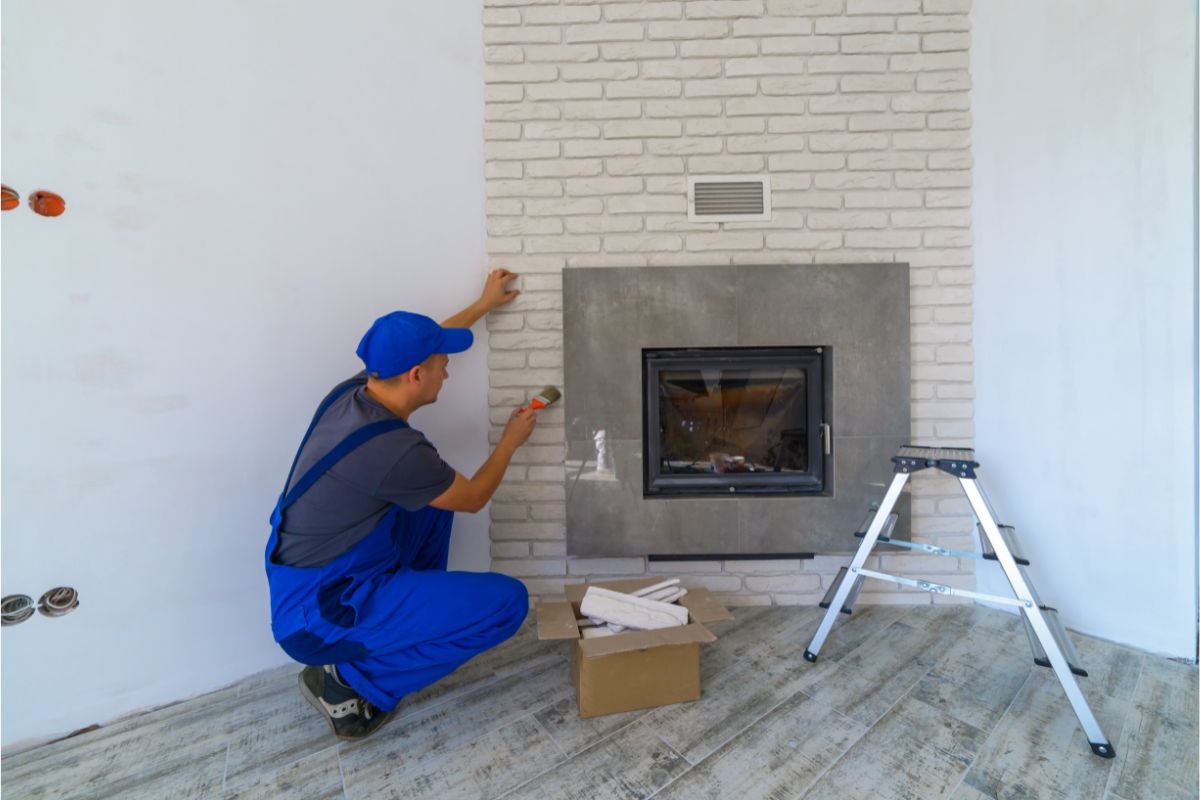
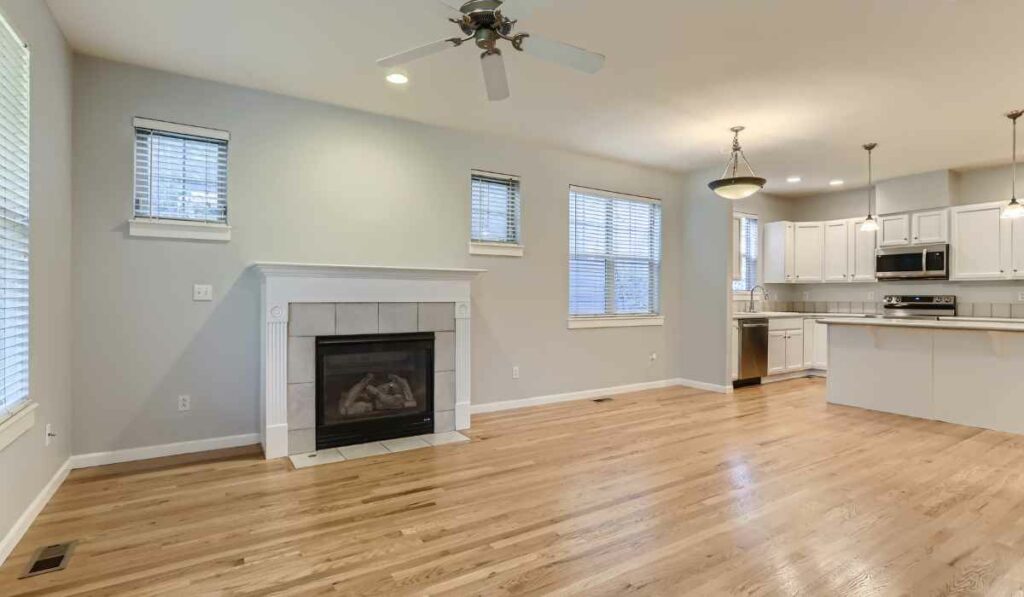
A well-designed and maintained fireplace can add a lot to the interior decor of almost any room, but old and worn-out tiles can often ruin the look. Painting your fireplace tile is easy and can instantly change the look and feel of your home.
Not only can painting your fireplace tile help to make an old fireplace look as good as new, but it can also be a relatively easy way to help the fireplace blend in with the theme of the room it’s in – or, alternatively, stand out with a bold new look.
Whether you’re looking to brighten up a room in your home with bright fireplace tile or fix discoloration or damage with a lick of paint, you should consider painting your fireplace tile.
To do this safely and in a way that looks good, you’ll need to know the best paints, techniques, and tricks of the trade for the job.
Here’s everything you need to know about painting your fireplace tile, from start to finish!
Preparing Your Fireplace Tile For Painting
1. Clean Your Fireplace Tile
Before painting, you don’t have to do anything complicated or use harsh chemicals to clean your fireplace tile.
All you need to do is get a rag and run it under water, ringing it out so it’s more damp than wet. Then, run the rag over the tiles, applying as much pressure as needed to remove dust and dirt.
You may need to rinse out the towel a few times, depending on how much cleaning the tile requires.
2. Sand The Tile Down
When you apply the primer and the paint to your fireplace tile, you want the surface to be as smooth and free from imperfections as possible.
Sanding the fireplace tile isn’t absolutely necessary, but it will help your paint job look more professional.
You’ll want to use at least 60-grit sandpaper to sand the tile effectively. However, you don’t want to use anything overly abrasive that might scratch or damage the tile.
Start by sanding gently and only apply more pressure if needed. If the sanding doesn’t seem to be working, don’t worry. Using the right primer, as explained in the next step, will help the paint to stick to the tile regardless of flaws in the surface.
3. Prime Before Painting
Applying a primer is the final step in getting your fireplace tile ready for painting.
You have a few options for primer products, but shellac-based primers are good for most situations because most paints will stick to them.
Any kind of cheap paintbrush that you can dispose of afterward will be fine for applying the primer. It’s difficult to clean primer from a brush, so you’ll probably want to throw it away and use a different one for the painting.
Apply the primer in even strokes over the tile, going in the same direction. Make sure to do this at least 45 minutes before allowing the primer to dry before you paint over it.
Choosing The Right Paint And Colors
Choosing Between Paint Types
Masonry Paint
Masonry paint is a type of paint with a particular finish that makes it ideal for stone and tile, indoors or outdoors.
The formula is designed to adhere to almost any rough surface, so you can still rely on masonry paint even if sanding down your fireplace doesn’t work well.
This kind of paint is very durable and can handle extreme conditions, which is why it’s a good paint type to choose for your fireplace tile since this area may get hot if you use it for a long time.
Heat-Resistant Enamel Paint
Heat-resistant enamel paint is specifically formulated to tolerate very hot conditions without looking worse for wear.
Most of these paints can tolerate at least 500 degrees Fahrenheit, but it’s possible to get specialist paints that can withstand 2,000 degrees.
In most cases, getting heat-resistant enamel paint for your fireplace tile is not strictly necessary. Still, depending on your fireplace’s material, the tile might get hotter than expected.
If your fireplace tile does get particularly hot, choosing heat-resistant enamel paint could be a good idea.
Epoxy Paint
Epoxy paint is one of the most durable types of paint on the market. It’s known for its toughness, so if you want your paintwork to last a long time, this is one of your best options.
A combination of latex and acrylic paint with epoxy resin, epoxy paint is strong enough to paint flooring.
Epoxy paint is more expensive than many other types of paint because it was initially developed for industrial use. Still, if durability is your number 1 priority, it may be worth it.
Latex Paint
Latex paint is commonly used to paint many parts of fireplaces, including the tile. This is a water-based paint, so it can safely be exposed to more heat than other types of paint. Your average latex paint can withstand up to 180 degrees Fahrenheit.
Another benefit of using latex paint for your fireplace tile is that it is durable and has great adhesion, so no matter what kind of tile you have or what that tile is exposed to, your paint job should still look great.
Chalk Paint
Chalk paint is a common choice for fireplace tile because it covers various different surfaces (both porous and non-porous) effectively and can even cover grouting. It’s durable and non-toxic.
Chalk paint is not, however, very resistant to extreme temperatures, so if your tiles do tend to get very hot, one of the other options would be better.
Also, if you want your fireplace tile to have a glossy sheen, chalk paint is not for you because it’s only available in a matte finish, unlike the other paint types on this list.
Selecting A Color
Once you’ve selected the type of paint you think will work best for your fireplace tile based on the properties you’re looking for, you’ll need to pick a color (or colors), which can sometimes be an even more difficult choice.
Look at the colors in the room and think about what would match or complement them nicely. If you’re stuck between colors, consider alternating tile colors, buying a stencil, and painting a design over the base color.
Painting Your Fireplace Tile
1. Apply The First Coat
By this point, you should already have cleaned, sanded, and primed your fireplace tile to apply the first coat of paint.
If you’re planning on stenciling a design on top (see below), this will be your base color. If you’re going for single-color coverage, this is the only color you’ll be using, but you will need to apply more than one coat.
Get a modest amount of paint on your brush for the first coat. It should be enough to allow you to achieve even, complete brush strokes, but not so much that it’s dripping off the brush.
It’s always better to apply multiple, thinner coats of paint to tile rather than fewer, thicker coats since the latter won’t dry as well and may make your work less durable.
Make sure your brush strokes are going in the same direction, and if the tile has a grain or similar effect, follow it with each stroke to ensure your coats are as smooth and durable as you can make them.
2. Wait Before Applying the Second Coat
It’s important to leave enough time between coats of paint to allow the base coat to dry properly.
If you don’t leave enough drying time between coats, moisture could get trapped between layers, which ruins the durability of your paintwork and could potentially lead to mold issues.
3. Repeat If Needed
If you need to apply more coats of paint for the coverage to be complete, you can wait before applying a third coat of paint.
This usually won’t be necessary, and you should especially avoid doing this if your previous coats have been thicker. However, a third coat might be needed if you have been painting in thin coats.
4. Curing
To add more finishing touches to your fireplace tile, read the section below before returning to this step. However, if you are happy with your fireplace after 2 or 3 coats of a single color, you must give the paint time to cure.
Curing times for fireplace tile will vary depending on the paint you have used. Read the container information to ensure you allow enough time before you next light your fireplace.
If the paint is exposed to heat too soon after the application, it will not reach its full potential in terms of durability.
If your tiles tend to get hot, you should leave a few months after painting before you next light your fireplace. Heat-resistant enamel paint and epoxy paint may be exceptions to this rule.
Adding The Finishing Touches
Stenciling
To apply a stencil design to your tile, wait for the paint to dry and cure. When you paint, secure your stencil using tape or adhesive.
Next, use a stencil brush to follow the pattern and carefully remove the stencil. You will want to wash your stencil while the paint is still wet, so be careful not to disturb the paint on the tile.
Repeat as necessary with individual tiles, ensuring your stencil is completely dry between uses so water doesn’t get onto your design.
Glazing Or Sealing
Once your paint has dried and cured, you can add a layer of glaze or sealant.
Glaze will help your tiles look glossy and finished, and this can be a useful step if you have been using chalk or another matte paint, even though you would prefer your tiles to have a sheen.
Unlike paint, you want to get more glaze on your brush because, ideally, you want to apply as much of the coat as possible in a single sweep.
For sealant, choose a water-based product and apply around 3 coats, waiting for each coat to dry fully before applying the next one. Ensure the paint is completely dry, or the sealant could dissolve the paint.
Post-Painting Maintenance And Care
It’s important to clean your fireplace tile regularly after painting (once the paint has dried and cured, of course).
This ensures that your design remains visible instead of being covered in dust and dirt and prevents debris from building up, which could potentially damage your paintwork and tile.
If there is loose dirt on your fireplace tile, you can use a (very) soft-bristled brush to clear it away. Never use a brush with firm bristles; don’t apply much pressure.
Once this layer of dirt has been removed, use a soft sponge and soapy water to clean your painted tile. Don’t use any harsh chemicals that might strip the paint. You can use mild liquid cleaners as long as they are non-abrasive.
Repeat this every month to stop stubborn dirt from building up if possible.
Final Thoughts
Painting your fireplace tile first involves cleaning, sanding, and priming the tile. Once you have done this, you can apply 2 or 3 coats of your chosen colors in your paint type.
If you want to add a stencil design, you can do this once the paint has dried and cured. To finish, a layer of glaze or sealant will protect your tile and enhance its appearance.
After your work is done, remember to clean your tiles regularly with gentle cleaning products and a sponge.
Hi, I am Stevie Morris. As a qualified electrician, I have installed countless electric fires and worked on projects with all types of fireplaces, including wood burning, bioethanol, and gas installations.
By working hands-on with different brands, you quickly become an expert on the best fireplaces and those you should avoid.
My family also owns the largest online retailer of fire pits and outdoor fireplaces in the UK. Although not part of the family business, I regularly help when needed.
I hope you can benefit from my experience and impartiality, which I have gained from installing fireplaces and seeing the family's fire pit business grow.