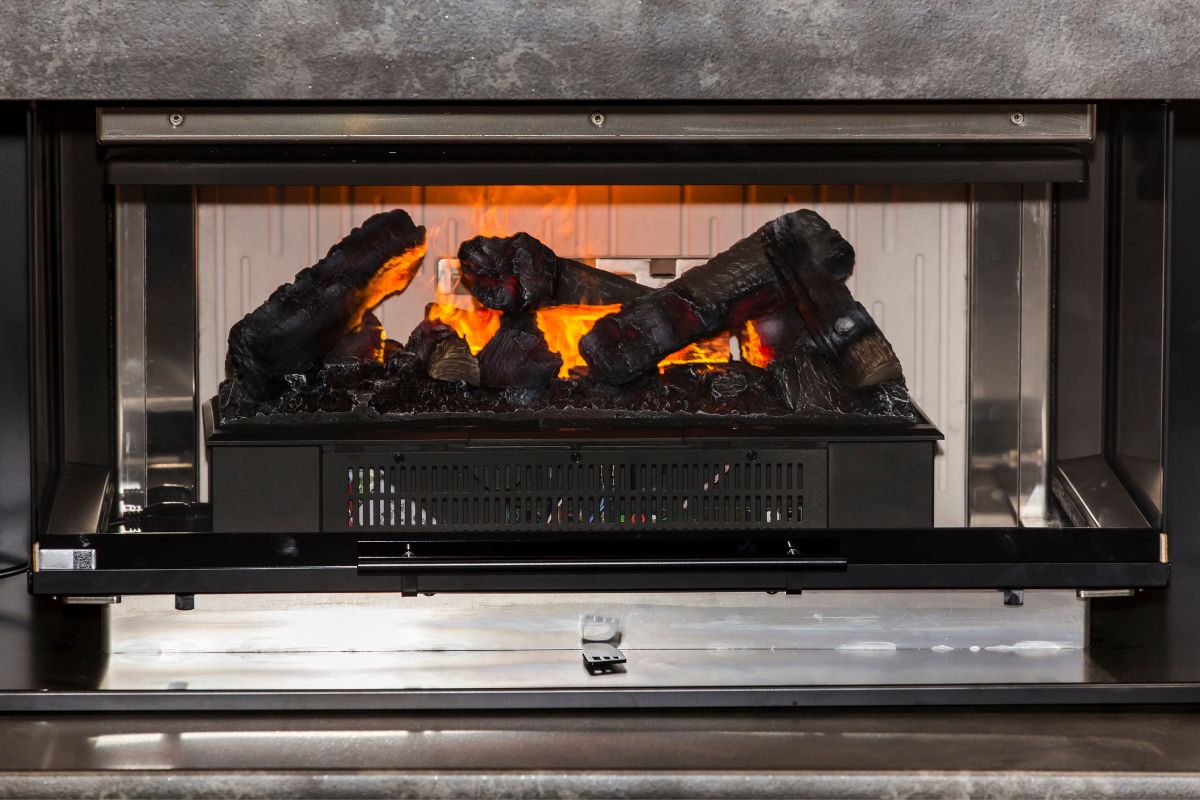
This isn’t just about adding extra warmth to your space with an electric fireplace insert, it’s about creating a captivating centerpiece that draws eyes and ignites conversations.
Electric fireplace inserts are not only cost-effective and energy-efficient but can also replicate the cozy ambiance of a real wood-burning fire, all while being safe for use around little ones.
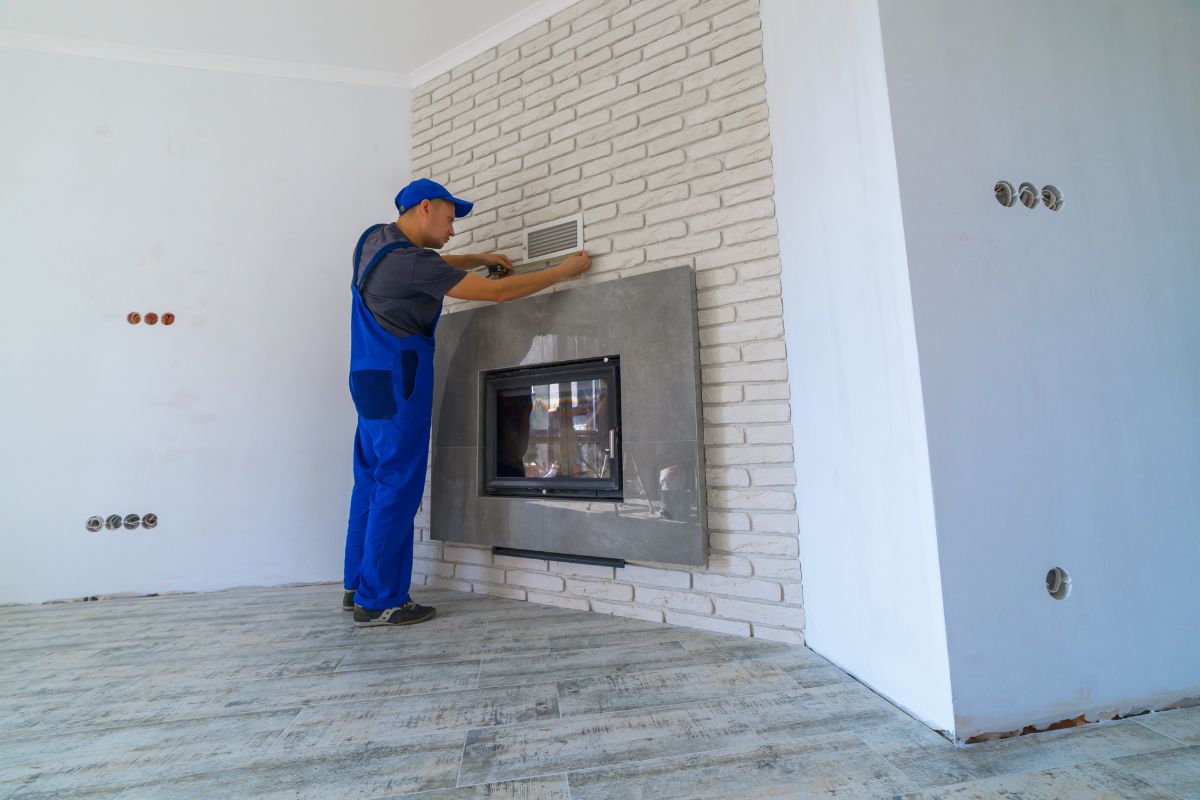
But let’s be honest – a stylishly sleek insert deserves a surround to match, right? Now picture this: your electric fireplace, nestled within an attractive frame that transforms it from a functional appliance into a striking focal point.
The frame, a beautiful blend of form and function, not only supports your insert but amplifies the style quotient of your room.
Sounds enticing? Well, the best part is, creating this impressive frame is an achievable DIY project! All it requires is a dash of precision and a hearty dose of enthusiasm. Ready to roll up your sleeves and give it a shot?
Then let’s dive into our step-by-step guide on “How to Build a Frame for an Electric Fireplace Insert”.
Let the transformation begin!
How To Build A Frame For An Electric Fireplace Insert?
Building your own frame for an electric fireplace insert is a good way to add your personality to the decor.
The frame itself can be kept simple as long as you ensure the insert has enough support.
With the support in place, you can make your own choices when decorating.
Before You Start Building
Start by choosing the right place for the fireplace to go. As it’s an electric insert, you need a location that’s close to an outlet.
You need to be sure that the fireplace can be used safely and comfortably.
Consider how the fireplace will look, in addition to the function.
A fireplace is often the focal point of a room. It’s also important to be sure the position will allow the fireplace to warm the room.
Don’t pick a spot that looks good but is nowhere near the seating area.
You also want to use this opportunity to make sure you’ve chosen an electric fireplace insert that’s right for your home.
Check the measurements are correct for your chosen space, and that you can connect to the outlet correctly.
You Will Need
To build your electric fireplace insert, you will need:
4ft x 8ft ¾ inch plywood
5 8 foot 2×4
1 8 foot 2×2
2 ½ inch wood screws
1 ¼ brad nails
Wood glue
Wood filler
Spackle
Paint/finish
Kreg Jig
Miter saw
Brad nailer
Drill
Clamps
Circular Saw
Tape measure
Multitool (or Dremel)
What To Do?
The first step may be to remove the baseboard where you want to install the insert. Use the multitool to cut away the baseboard, which you should then be able to pry away from the wall. We recommend leaving a little bit of room on either side of the cut for an easier installation.
Now, you can start cutting your 2x4s. You’ll need 28 pieces of lumber for the frame: 6 3 ¼ inch pieces, 3 8 inch pieces, 10 5 inch pieces, 4 43 ¼ inch pieces, 3 23 inch pieces, and 2 32 ½ inch pieces. You also need to cut 2 43 ¼ inch pieces from the 2×2.
Use the Kreg Jig set for 1 ½ inch wood to add pocket holes to both ends of the 23 inch and 32 ¼ inch 2×4 boards.
Use the Kreg Jig set for 1 ½ inch wood to add pocket holes to one side of the 3 ¼ inch and 5 inch 2×4 boards.
You’re now ready to begin construction. Use 2 ½ inch wood screws to attach the 23-inch boards between the 43 ¼ inch boards. Attach one 23-inch board 8 ½ inches from the ground. Measure 22 ¼ inches from the top of the lower board, and attach the second board here. Attach the third board to the top.
Next, create the outer frame. Using 2 ½ inch wood screws, attach the 3 ¼ inch boards at the top, middle, and base of the 43 ¼ inch outer boards on both sides.
Attach the 43 ¼ inch 2×2 to the three boards on both sides. Use the clamp to hold the boards in place, and fix them with 2 ½ inch wood screws. This is the front frame.
Now it’s time to build the back frame. Attach the 32 ½ inch 2×4 boards between the remaining 43 ¼ inch 2x4s. Place one board at the top and the other 8 ½ inches from the bottom.
To give the box shape to the frame, attach four 5-inch 2x4s to the 32 ½ inch 2×4 boards. Use 2/12 inch wood screws, and place them 8 ¼ inches from the sides, facing outwards, rather than flat.
Now, add the remaining 5-inch 2x4s, facing outwards, to the top, center, and base of the 43 ¼ inch backboards.
Attach the front frame to the back frame using 2 ½ inch wood screws. Use clamps to keep the boards in place as you work.
Add a supporting layer for the insert. Install the 8-inch 2×4 pieces in a row on the lower level of the frame, where the insert will sit.
Use studs to attach the frame to the wall, and check to see if the insert fits.
Cut boards from plywood to act as the front piece of your frame. We recommend cutting several planks to ensure a secure fit. Cut side pieces and a mantle. This is where you can let your imagination run wild! Use molding and decoration to create a frame insert that perfectly suits your needs.
Attach the plywood frame to the base using the brad nails, and prep the plywood for painting. Use spackle to fill in nail holes and wood filler to even out any trim. Smooth, caulk any gaps between the frame and the wall, and paint. Leave to dry for 24 hours at least.
Install your electric fireplace insert.
A quick note: these instructions and measurements are intended for a 22 13/16” fireplace insert, so alter the measurements to suit your needs.
Final Thoughts
This DIY frame is a fantastic way to display an electric fireplace insert.
The simple base design securely supports the insert while you have room to experiment with your final design.
We hope you’ve found this guide useful and that you’re ready to put together your own electric fireplace frame.
Frequently Asked Questions
How Can I Ensure the Frame I Build Is Sturdy Enough to Support the Electric Fireplace Insert?
Ensure sturdiness by using high-quality materials like ¾ inch plywood and 2×4 lumber. Take accurate measurements for a secure fit and use strong fasteners like 2 ½ inch wood screws and 1 ¼ brad nails for secure assembly.
Can I Customize the Look and Style of the Frame for My Electric Fireplace Insert?
Yes, absolutely. The frame for your electric fireplace insert can be customized to suit your style and home decor. This can include painting, adding molding, or applying various finishes.
However, ensure any modifications don’t impact the frame’s structural integrity.
What Precautions Should I Take When Installing an Electric Fireplace Insert in the DIY Frame?
When installing an electric fireplace insert, ensure the frame is secure and stable. Always turn off the electricity when working near outlets. Verify the insert fits properly and check the manufacturer’s guidelines for any specific precautions.
Hi, I am Stevie Morris. As a qualified electrician, I have installed countless electric fires and worked on projects with all types of fireplaces, including wood burning, bioethanol, and gas installations.
By working hands-on with different brands, you quickly become an expert on the best fireplaces and those you should avoid.
My family also owns the largest online retailer of fire pits and outdoor fireplaces in the UK. Although not part of the family business, I regularly help when needed.
I hope you can benefit from my experience and impartiality, which I have gained from installing fireplaces and seeing the family's fire pit business grow.