The good news is that you can do so, as long as you follow a few simple guidelines to make sure that the monitor is secure.
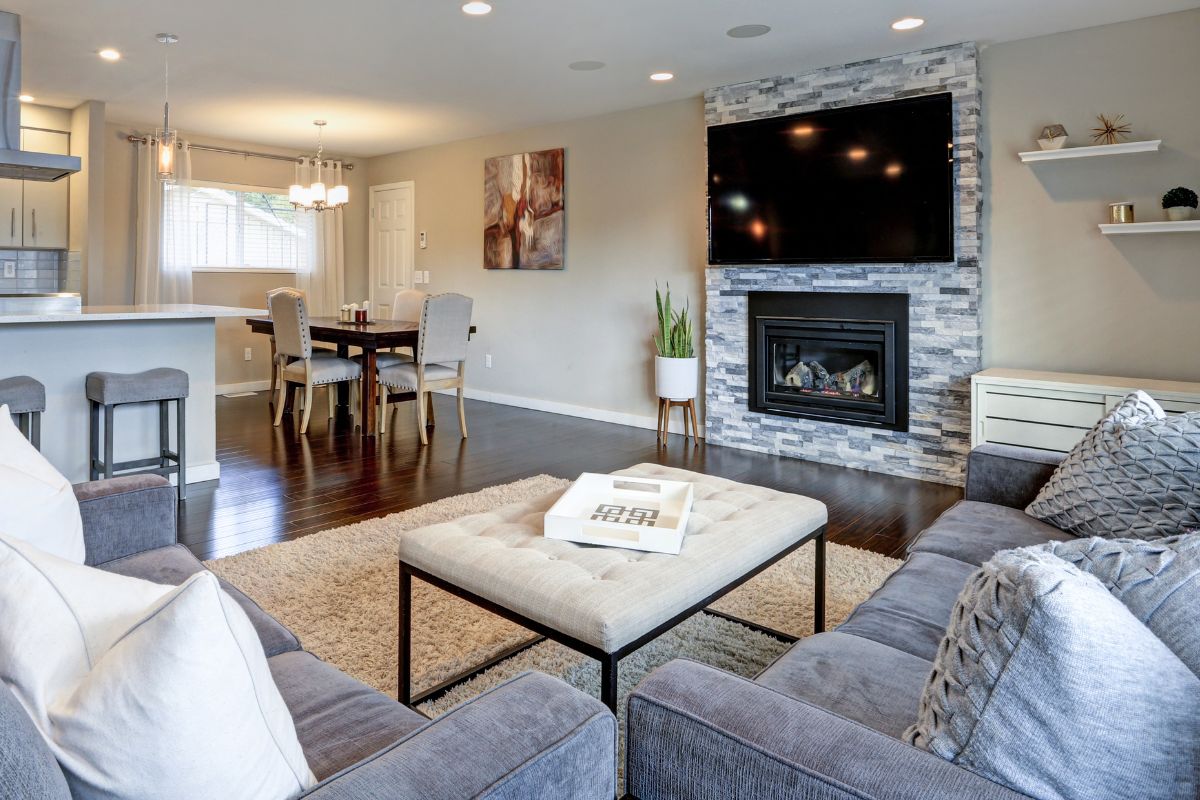
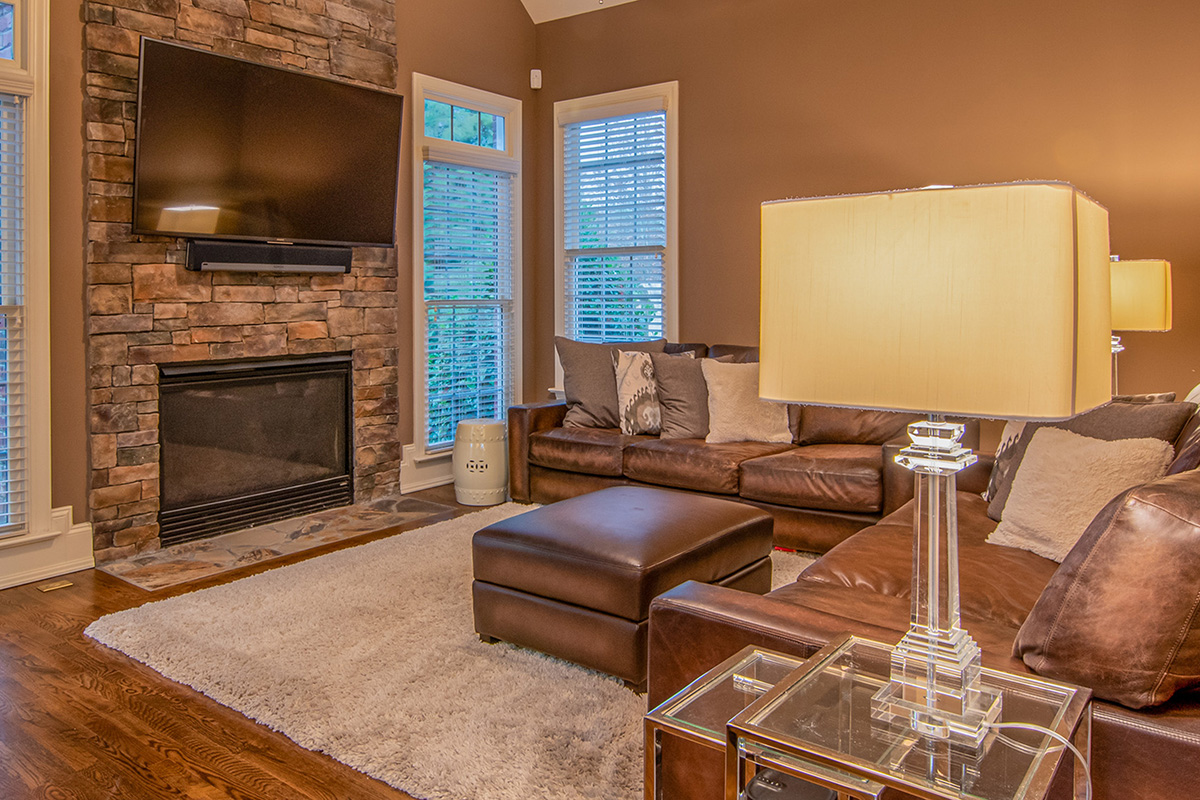
You’ll learn how to mount a TV on your stone fireplace in this article, including the things you’ll need for the process, and how to make sure that the television is safe from falling.
Things You Will Need To Mount A TV On A Stone Fireplace
Before you can mount a TV, you’ll need to gather your materials.
You Will Need
Optional – a template to print on
A pencil or masking tape
A measuring tape
A stud finder
Power drill
Flathead screwdriver or one with Phillip’s heads
TV bracket to fit your TV model
Hardware to mount bracket ( these will normally be included with your bracket)
Having a second person handy is also a good idea, especially if your TV is large or heavy.
How To Mount A TV On A Stone Fireplace
Gather all your tools and equipment in one place before you begin installing the TV. Leave your monitor on something soft to avoid scratches, then follow the steps below.
Step 1: Positioning The Monitor
You’ll need to decide where and how high your TV and bracket should be. Make sure that the wall is near power outlets and the necessary satellite or cable connections.
A good position is an eye-level distance between the middle of the screen and the viewer’s eyes. Another person will be good to figure this out, as they can hold the TV while you confirm the right angle and comfort level.
Step 2: Find The Studs
After you’ve decided on the best position for the bracket, you’ll need to use the right wall studs to fix it to the wall.
Your wall bracket should be able to structurally hold monitors between 30 – 100 lbs, but this weight will be too heavy for stone. This is why your mount needs to be fastened to the right studs.
First, figure out how many studs you’ll need by measuring the bracket’s mounting points. Two studs will usually suffice on each side, but you might need to use more depending on your wall and TV mount.
You can then use a pencil to trace around the studs on the wall.
Step 3: Mark The Drill Holes Position
Now you need to decide where the drill holes should be in your wall. You can use a pencil to mark where these lines should go, or use a print template as a guide.
A level can help you make sure that the marks are even and straight.
Step 4: Ensure The Brackets Are In Place
Now you can begin installing your bracket. Align the bracket right against your wall, positioning a single screw in line with the marked hole. Turn the screw tightly to fix the bracket in place.
Position the other side of the frame in line with the next hole, repeating the same action with the next screw. Make sure that the bracket is straight by using a level to check.
Step 5: Drill The Pilot Holes
Use a drill to create pilot holes inside the studs.
Step 6: Attach The Wall Bracket
You’ll now fix the wall bracket by using the screws that were included with it. Use a screwdriver or drill to push the wall screws into the studs.
These screws should be stiff enough to make sure the bracket is secure on the wall. There shouldn’t be any rattling, but they shouldn’t be tightened too much either.
If you notice the screws sinking into your wall, or dents in your frame, you’ll need to loosen your screws.
Step 7: Align Your TV’s Mounting Plate
Now you can start fixing your TV’s mounting plate. The second part of your TV’s mount will be fixed to the back of your monitor, which will keep your TV secure on the wall.
Different solutions may link the two components depending on your model, including moveable arms, rail systems, or a basic clip.
Begin by positioning the mounting holes in line with the mounting plate. Start screwing the plate to the monitor with the necessary screws.
Keep monitoring the television to avoid injuring the frame or the screw heads. This can make it harder to attach or remove the monitor in the future.
Avoid tightening the screws too much, as well as not tightening them enough.
Step 8: Fix The Mount To The Bracket
Now, all you have to do is fix the wall bracket to the monitor’s mounting plate. Lifting the television higher than where you need to place it can help you lower it to the right position.
To attach your bracket and plate together, you’ll need to follow the steps included with your TV mount.
As you lift your TV into position, keep monitoring the outer frame to avoid damaging it. Don’t press on the glass or screen while you move it, as this can affect the display.
Remember, you’ll need to fix the mount to the bracket first so it can hold the television’s weight.
Step 9: Plug Your TV In
Now that the television is in place, all you have to do is plug it back in and switch it on! Make sure that you do the same for any other plug-ins that may have come loose in the process.
Once you’re done, you can now enjoy watching your favorite shows a TV right on your stone fireplace!
Remember, before you can begin installing your monitor, you’ll need to drill pilot holes to act as anchors, as a television can be too heavy for a stone wall.
It’s also a good idea to check your television’s temperature limit, particularly if you have a plasma model. Plasma TVs can become damaged above 90°F.
Nevertheless, if you’ve taken all the necessary precautions, the guide above will help you mount a TV onto your stone fireplace!
Hi, I am Stevie Morris. As a qualified electrician, I have installed countless electric fires and worked on projects with all types of fireplaces, including wood burning, bioethanol, and gas installations.
By working hands-on with different brands, you quickly become an expert on the best fireplaces and those you should avoid.
My family also owns the largest online retailer of fire pits and outdoor fireplaces in the UK. Although not part of the family business, I regularly help when needed.
I hope you can benefit from my experience and impartiality, which I have gained from installing fireplaces and seeing the family's fire pit business grow.