You may have just bought a house with a fireplace, and now you want to make a fire, but how? You may know you need wood first, but there is a little more to starting a fire than simply setting wood alight.
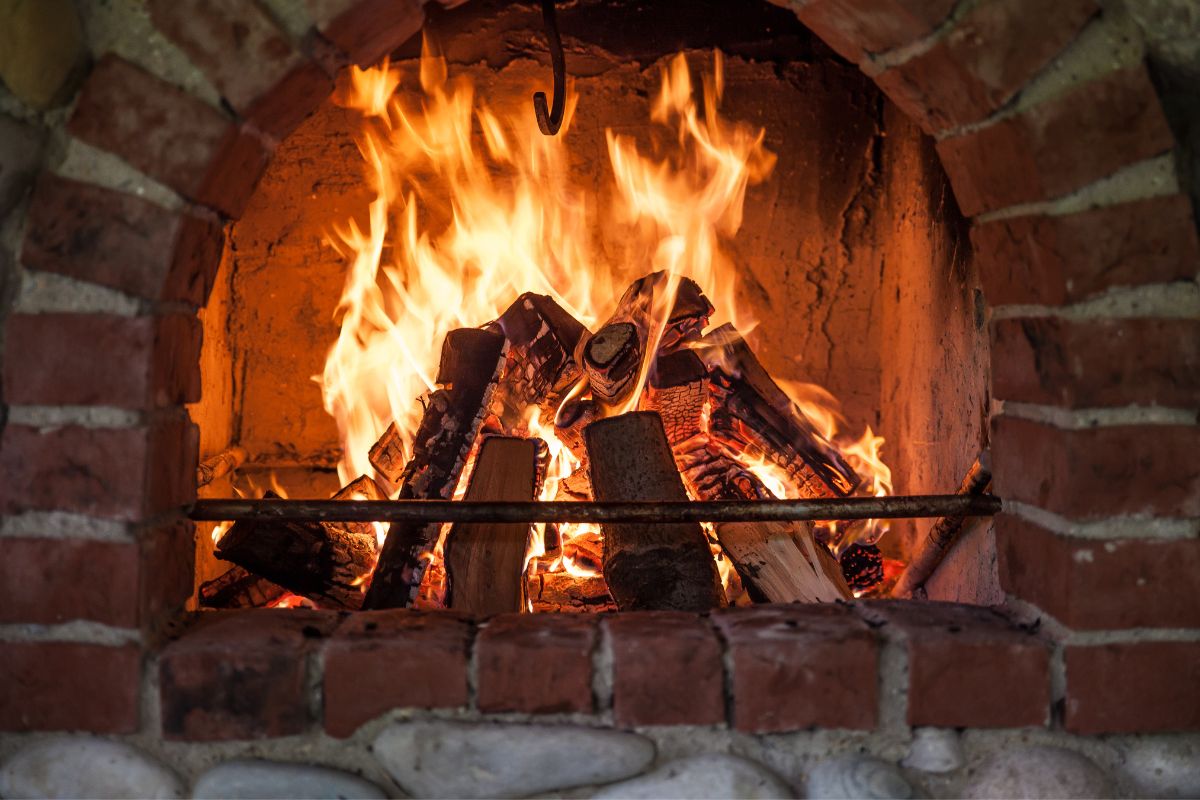
Here’s our guide to starting a fire with tips and tricks that you will keep with you for the rest of your life, and might just save your life one day, as well as keeping you warm in the winter.
First, Tinder
As we mentioned, starting a fire takes more than just wood. We need to stack wood, but first we need tinder to start a fire. Tinder is simply what initially starts the embers or spark that will eventually ignite your stacked wood.
In the wild, tinder might be something like dried moss, leaves, small twigs, or hay, anything that is absolutely bone dry. Although, in the fireplace of our home, there are much easier ways to create kindling.
The main rule for tinder is that it needs to be bone dry, so something like the newspaper or any kind of paper really will work fine.
Another clandestine idea would be to stuff loads of toilet paper into a toilet paper roll; this burns perfectly. If you use actual paper, try to bundle it up into balls or tie it into a knot, this will make it burn slower, another thing we want from kindling.
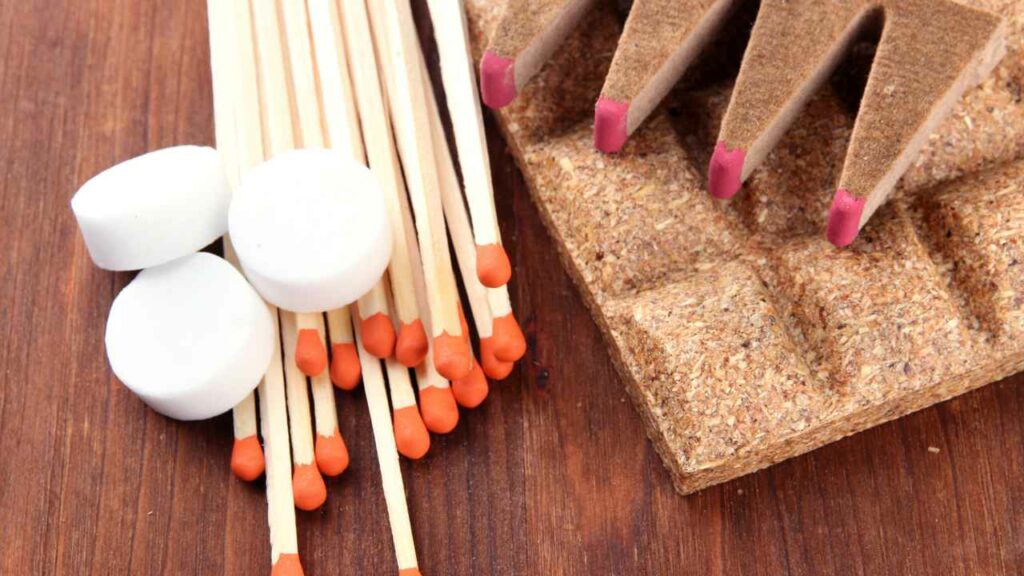
However, in the modern household, you can find lots of firelighters in the store. These are made from materials that will burn slowly but remain alight – the two things you want the most from kindling.
You want your tinder to be spread in a small bundle, so it can light multiple areas of the wood we will stack on top.
Next, Kindling
Now we need to add bits of wood on top so that the kindling has something more long burning to ignite. But you can’t just throw a log in there; we need to be clever about how we stack and what size of wood we add.
Let’s go back to the wild for a moment. Your tinder is there; now you need something to go on top to keep it burning. These are traditionally branches of a tree, but equally, you may have some logs lying around already.
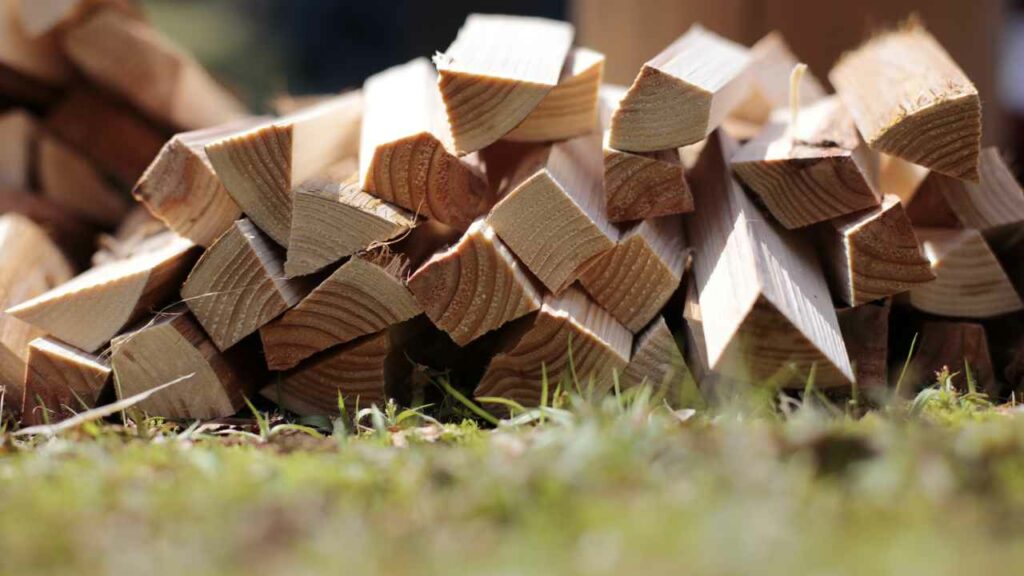
Provided these logs are dry, and you have some sort of axe, you can cut these logs into smaller pieces, around the size of the branch, so maybe an inch and a half in width.
You want them to be smaller than a log, as tinder on its own cannot ignite a full log. The smaller logs or branches, the kindling, needs to be smaller so it can build up enough heat and flames to ignite a log eventually.
Stacking The Wood
There’s a trick to stacking your kindling. Ideally, you want it to be fairly high, but it’s about not choking the tinder or embers. Choking, like with a human, is when you deprive oxygen from the fire, usually by just throwing sticks on it without any organization, restricting the airflow.
The best approach to stacking kindling is to place two parallel sticks of similar length on either side of the tinder. Then simply rotate so that you are creating somewhat of a square of parallel sticks that are stacked on top of each other.
Theoretically, if you keep going, you get a tower of parallel wood stacked on each other. This means that when one level of parallel sticks burns out, they sort of collapse so that the sticks on the level above then fall onto what will now be hot embers.
As the sticks are stacked in pairs of parallel sticks, having been roasted 90 degrees, there will be lots of gaps for air to get in and help stoke the fire, which is why this method is foolproof.
Adding Logs
These embers that the kindling and tinder create together are really important for the next step. These embers will actually be hotter than the flames themselves, which is important to remember for adding logs.
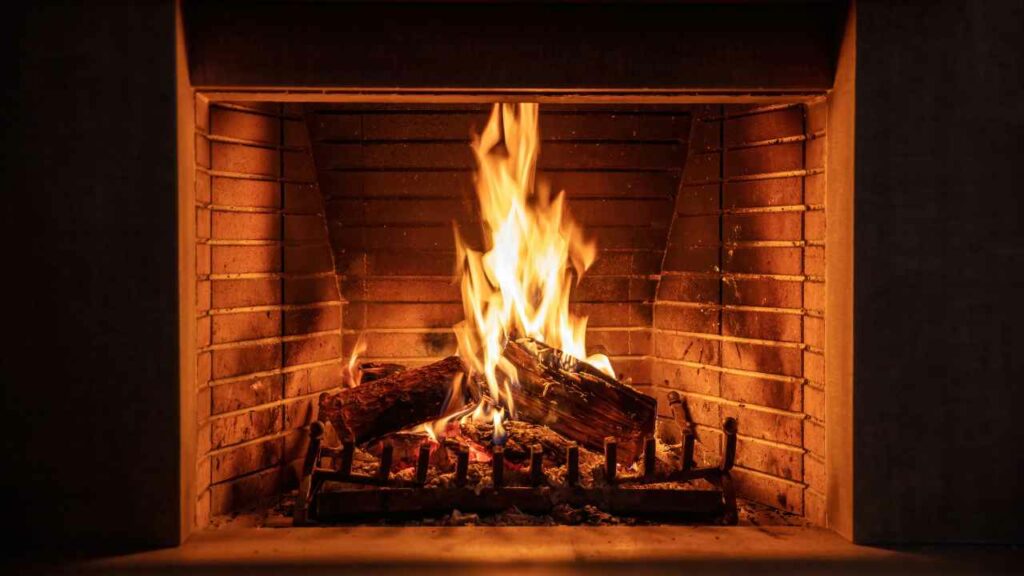
Once your kindling burns down a bit, you should have a small layer of embers which will look like lava, kind of; the red-hot heat should be visible through the ash.
You want this to build up as this will be your main way of generating the heat necessary to combust a larger log.
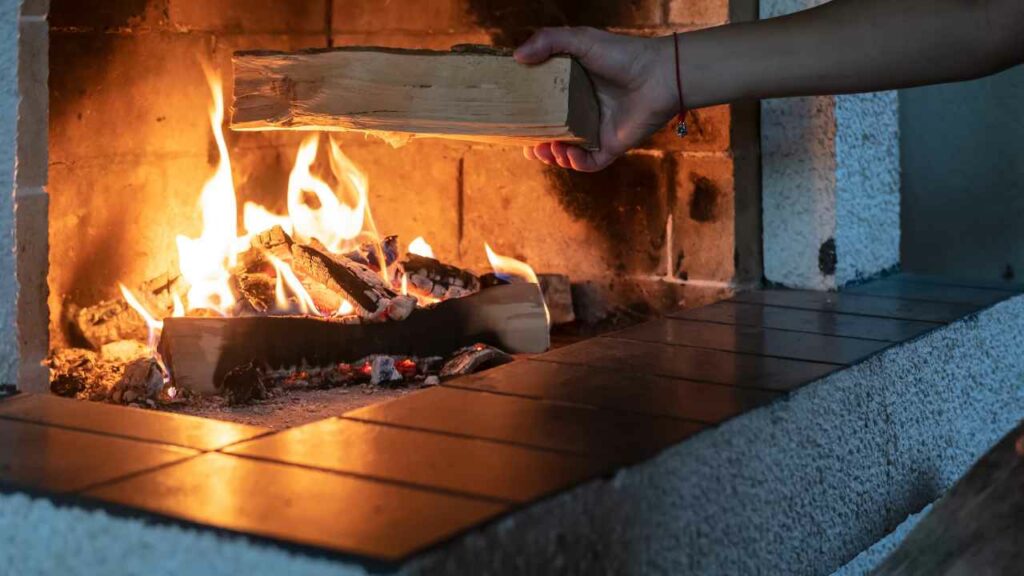
Once this has built up and you can see you have a pretty raging fire of both flames and red-hot embers, you can start throwing logs on the fire, one at a time.
You don’t want to add too many logs at once, as they will start to choke the fire, which we previously identified as something to avoid.
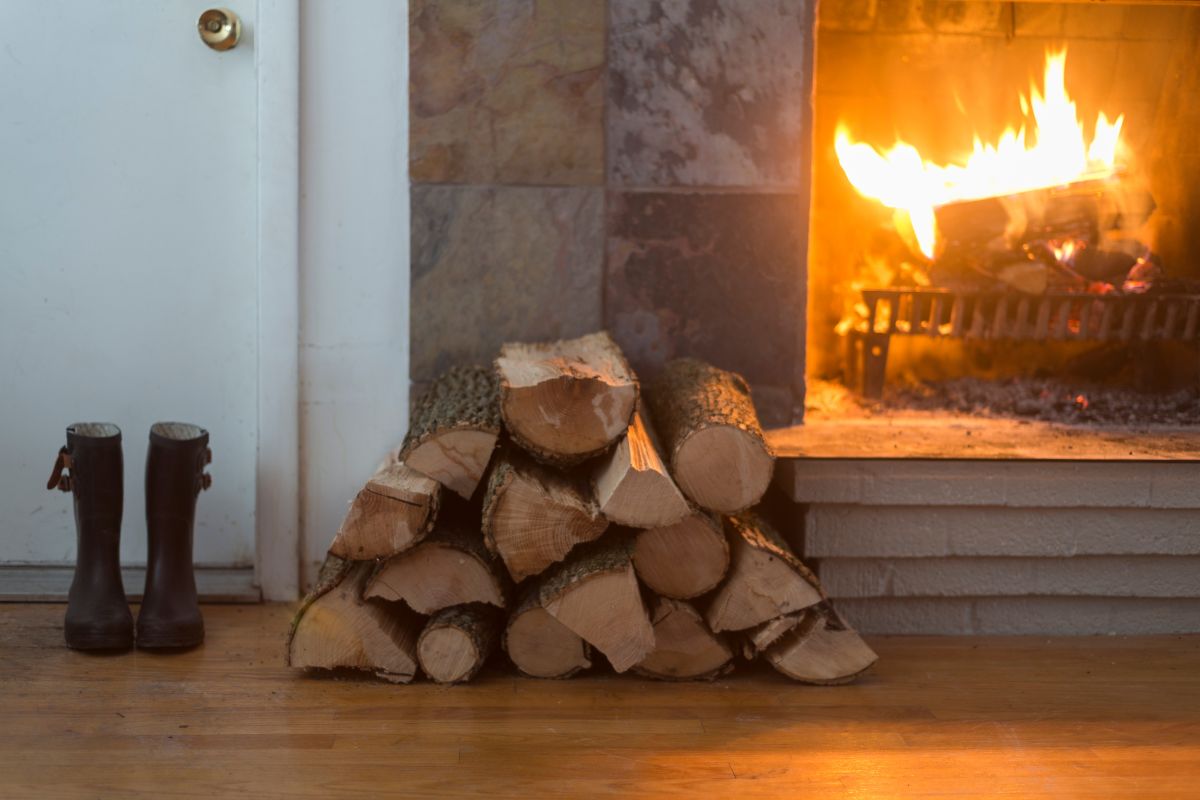
When To Add More Logs?
You don’t want to be throwing logs on the fire constantly; you want them to burn out before adding other logs.
You can tell when a log is burnt out as it will be really ashy and look a lot like the embers. If it still looks like wood, you could either flip or turn the log, so the still unburned part is on the embers.
When you notice your log is pretty burnt out, you can add another log and repeat it. This is the best way to get the most from your fire.
Too much of a roaring fire could start a fire in your chimney or just get out of hand. Burning one log at a time, unless your fireplace is particularly large, will be the most efficient way to burn your supply of logs.
Final Thoughts
It should be clear from this article that to start a fire, we first need to create a tinder from dry material.
When we have tinder, we can create a tower of kindling around the fire, which doesn’t restrict airflow. Once burned down and embers have been created, we can start adding logs.
- Discover the Ease and Elegance of Zero-Clearance Fireplaces - July 24, 2023
- How to Build a Frame for an Electric Fireplace Insert: A Step-by-Step Guide - July 16, 2023
- Bedroom Fireplace Ideas That Will Make You Want to Snuggle Up - July 16, 2023

