There are many benefits when it comes to a gas fireplace. For one, you don’t have to worry about looking for dry wood, taking it home, chopping it up, and placing it in the fireplace.
Instead, with a simple switch of a button, a gas fireplace will provide your whole living room with warmth – hassle-free.
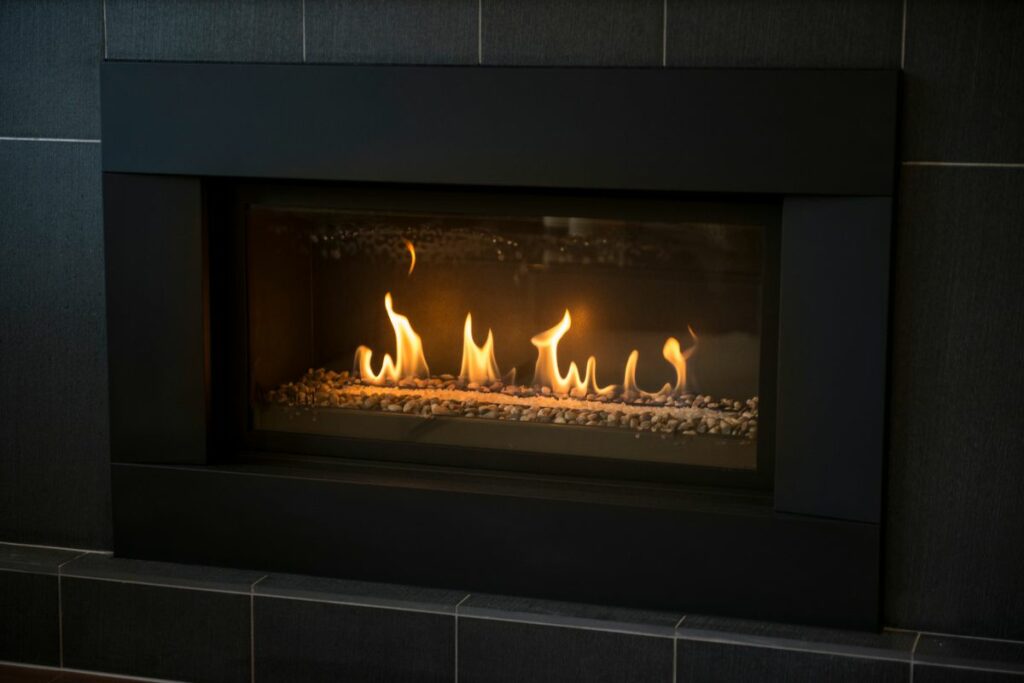
A gas fireplace pilot light, otherwise known as the pilot, plays an important role in a gas fireplace design, whereby it allows the flames to start quickly and efficiently.
Although, one dilemma when it comes to a gas fireplace is how to start and relight the pilot.
Well, don’t worry; with the help of this guide, you’ll become a professional at managing your gas fireplace in no time.
What Is A Gap Fireplace Pilot Light?
A pilot light is a part of the fireplace’s ignition system whereby you’re creating a small flame that helps to light the main light, which is generated by the larger burner.
In a gas fireplace, when lighting the main burner flames, the pilot flame is required to be lit every time.
How To Light The Pilot Light?
Step 1: Carefully Read The Manual
Before attempting to light/ adjust your fireplace, it is essential to read the manufacturer’s instructions.
While most gas fireplaces feature a similar ignition technician, yours may have a unique approach that could be damaged if mishandled.
Step 2: Locate And Open The Control Panel
Most modern gas fireplaces will have a control panel. This is typically concealed behind the front screen of the fireplace. Here, you can open or remove the screen – depending on aesthetic purposes.
On most gas fireplaces, these can be removed by simply pulling them off the device.
Step 3: Keep The Control Knob Off For 5 Minutes
On the control panel, you should be able to find the knob. Here, there are usually instructions, such as ‘on, off, and pilot.’
From here, turn the knob to the ‘off’ position. Then, allow 5 minutes to ensure any remaining gas has been dissipated.
Step 4: Twist The Shutoff Valve Parallel To The Gas Line
In some fireplaces models, the shutoff valve is installed as a safety precaution – helping to control the amount of gas released into the device.
If your fireplace contains one, make sure the handle is parallel to the gas line to allow fuel in the firebox.
Step 5: Set The Control Knob To Pilot Position
The knob should be positioned so that it exposes the pilot light – this should provide you with access to the fireplace’s small flame.
Make sure you are only twisting the flame when you’re reading to ignite the pilot light. This is to ensure you’re avoiding any calamities.
Step 6: Turn The Ignition On And Press The Control Knob Down
To ignite the blaze, all you have to do is palace your finger on the middle of the control knob and press it down.
Then, switch the ignition button on the fireplace using a red button nearby. Here, you may need to tap the switch several times to ensure the pilot is properly ignited.
If it fails to light, then you may want to start the process from the beginning. If nothing happens after this, then you may want to look for an ignition issue or seek help from a specialist.
Step 7: Hold The Control Knob For 30 seconds
To ensure your fire keeps going, hold the control knob for 30 seconds; longer is necessary.
This provides the thermocouple with a safety mechanism that will cut off the gas if the flame were to go out, then allows it to warm up again, and then show it is back on.
Step 8: Adjust The Knob To ‘On’ Position
Once you have followed all the steps, all you have to do is adjust the control knob from the ‘pilot’ mode on your fireplace to the ‘on’ mode.
By doing so, you’re ensuring that the pilot light remains burning indefinitely – allowing you to switch on your fireplace by either using the remote control or wall switch.
Once done, the next step would be to replace the front screen that you have removed back into position.
Operating An Electronic Pilot In A Gas Fireplace
To operate an electronic pilot on a gas fireplace, all you have to do is adjust the gas fireplace’s supply line so that it is on. Once done, ensure the electric switch is on – if you have one.
Then look for the control knob that is labeled ‘pilot ignite.’ You’ll want to turn this off for a few minutes.
Once down, slowly adjust the knob back to the start position – you may need some pressure to achieve this – placing it back to ‘pilot’ or ‘pilot ignite.’
After, simply press the igniter button. Here, you may hear a slight sparking or clicking noise which means the gas is being transmitted. Keep pushing the ‘pilot ignite’ while releasing the igniter button.
After 10 seconds, if it doesn’t light, then simply push the igniter button. Once it has lit up, let go of the ‘pilot ignite’ button.
Adjust the knob to the ‘on’ position if you want constant use or ‘electronic’ to allow you to adjust the room’s temperature.
Final Thoughts
When it comes to gas fireplaces, there are many different benefits. One of which includes hassle-free use.
With these fireplaces, you don’t have to worry about gathering any wood, chopping them up into size, or carefully adding them to the flames.
Instead, with one switch of a button, you’ll have a cozy and warm living room in no time. Plus, the best part? It is completely mess-free! You’ll never have to clean soot again.
Hopefully, this guide has informed you how to light the pilot light on a gas fireplace.
Hi, I am Stevie Morris. As a qualified electrician, I have installed countless electric fires and worked on projects with all types of fireplaces, including wood burning, bioethanol, and gas installations.
By working hands-on with different brands, you quickly become an expert on the best fireplaces and those you should avoid.
My family also owns the largest online retailer of fire pits and outdoor fireplaces in the UK. Although not part of the family business, I regularly help when needed.
I hope you can benefit from my experience and impartiality, which I have gained from installing fireplaces and seeing the family's fire pit business grow.